Preparation:
Before we begin, ensure that your app is connected to your U3 remote and that your devices have been successfully added. If you haven’t done so yet, please refer to the Adding devices article to complete the initial setup.
Procedure:
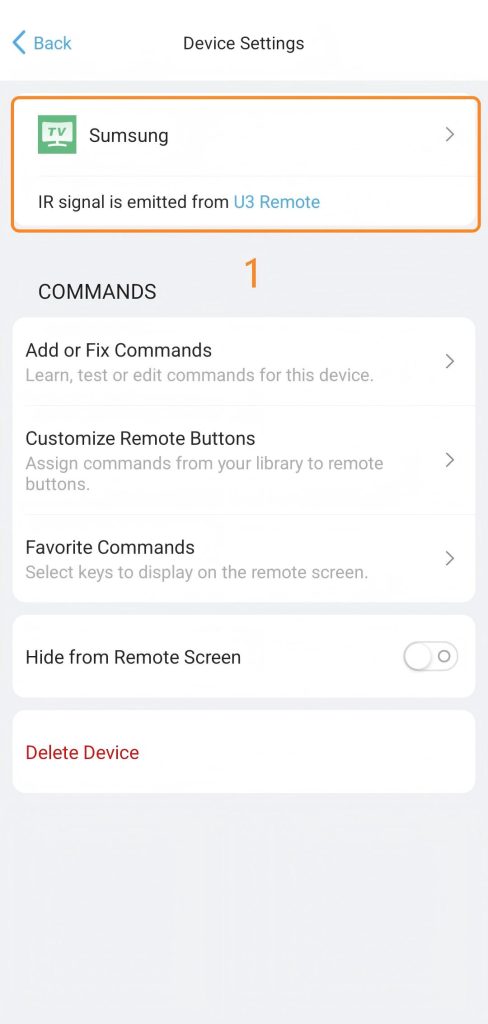
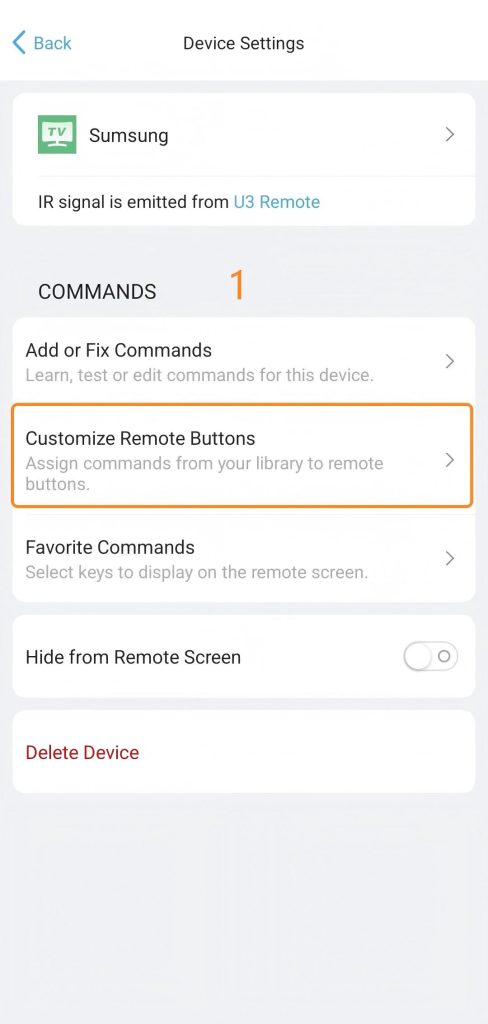
1. Accessing Settings
From the device list in the App, select the specific device you wish to customize.
2. Modify basic device information
2.1 Name & Icon
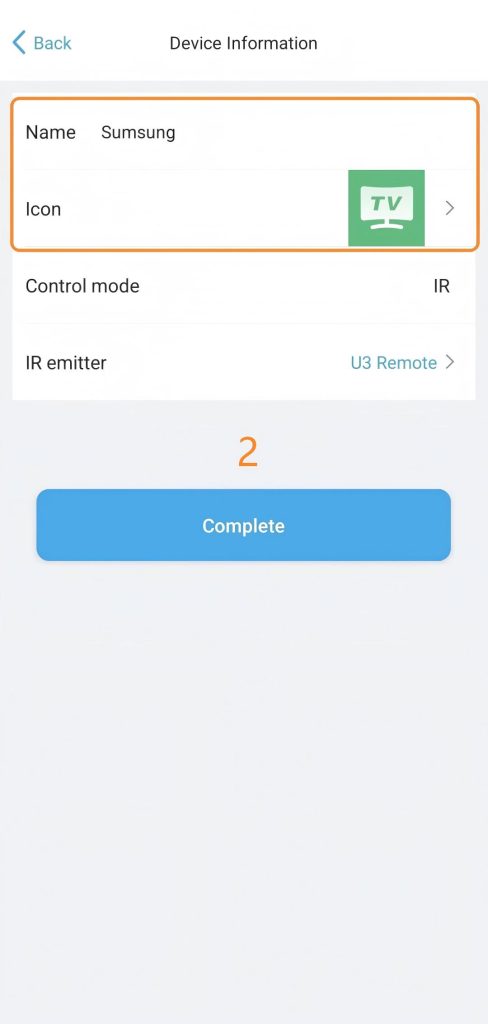
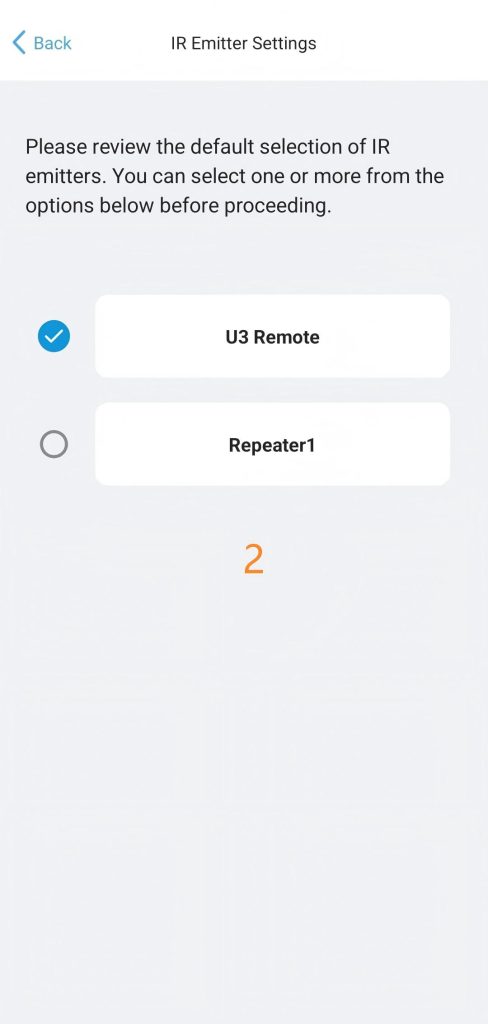
2.2 IR Emitter
You can choose to send infrared commands from the U3 remote control body or the IR repeater.
![]() Note: IR Emitter Selection is only applicable to infrared (IR) commands.
Note: IR Emitter Selection is only applicable to infrared (IR) commands.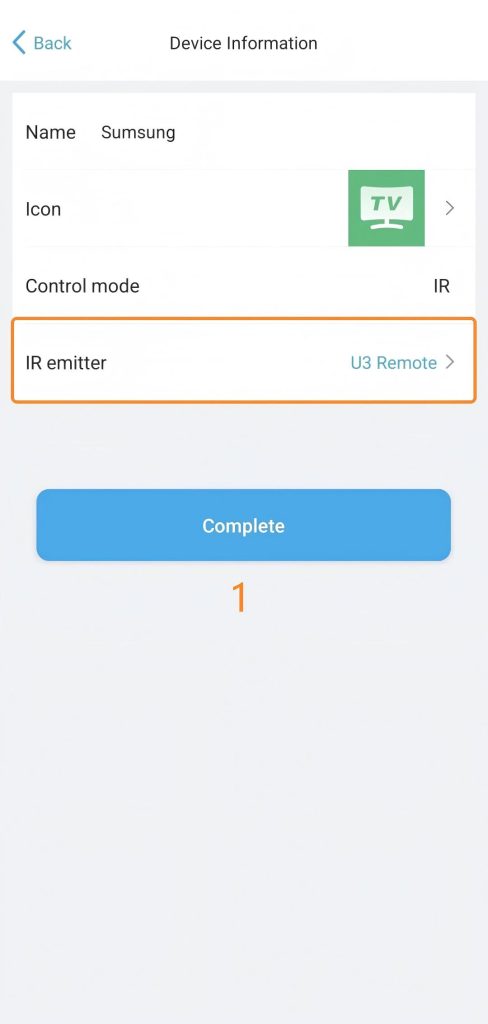
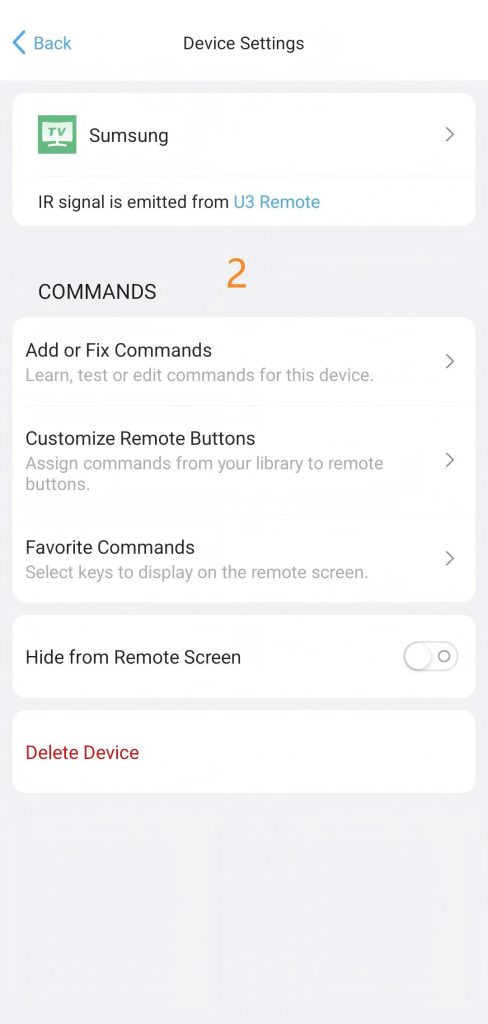
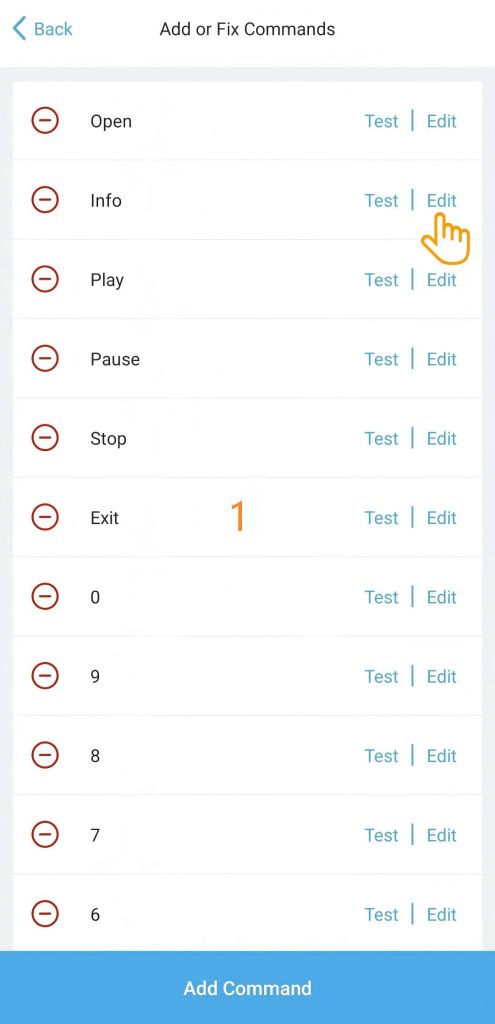
3. Add or Fix Commands
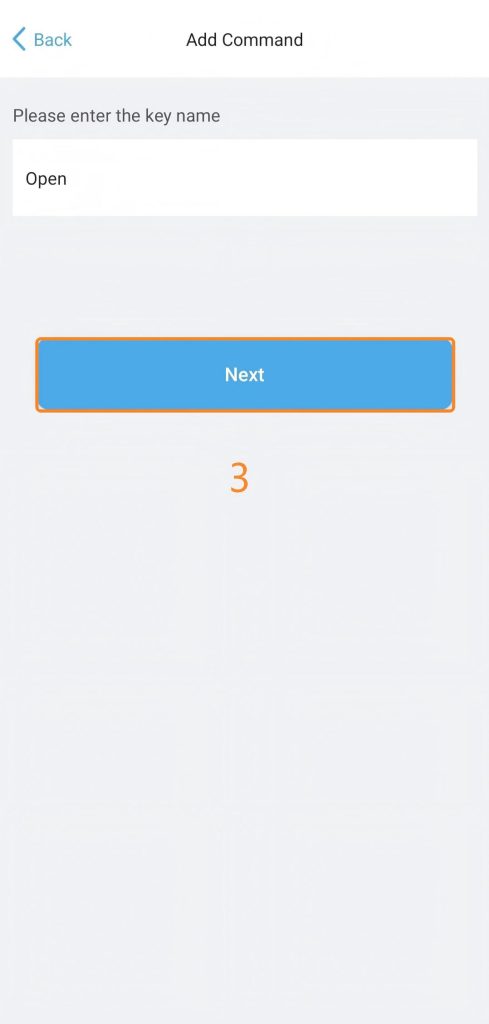
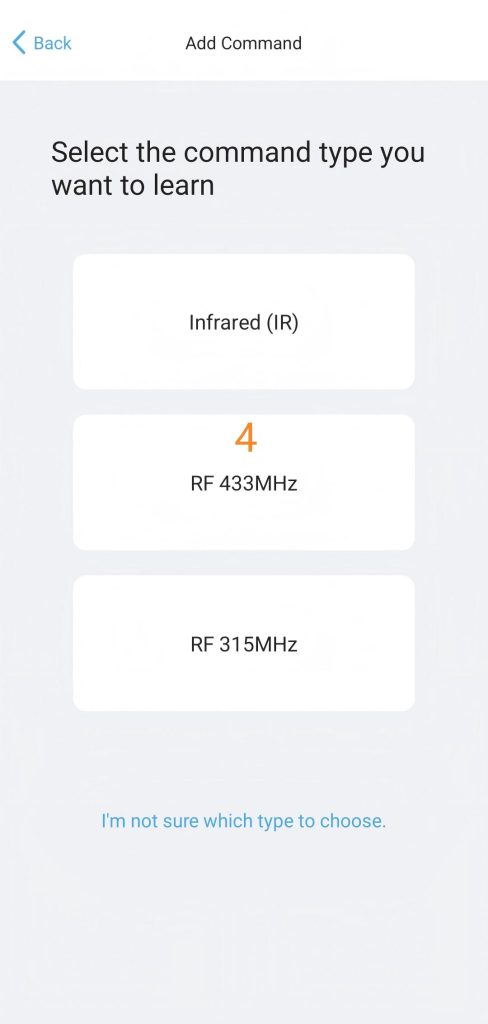
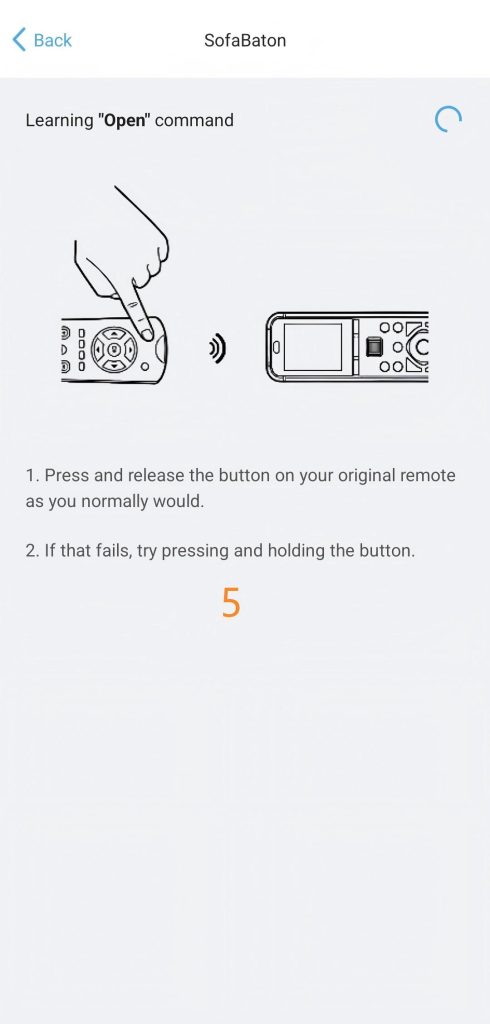
3.1 Add Commands
Follow the steps below to learn and add new commands from your original remote. This feature supports Infrared (IR) and RF 315/433MHz (non-rolling code) signals.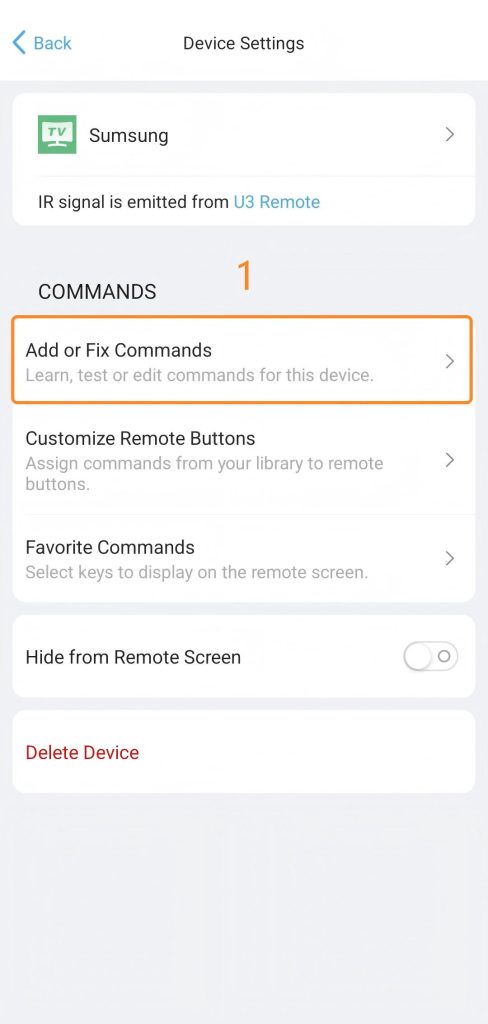
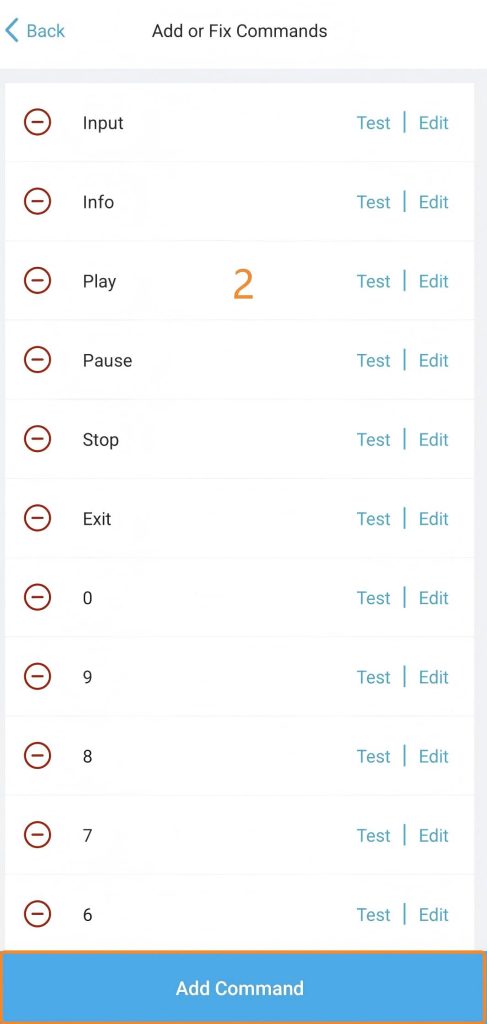
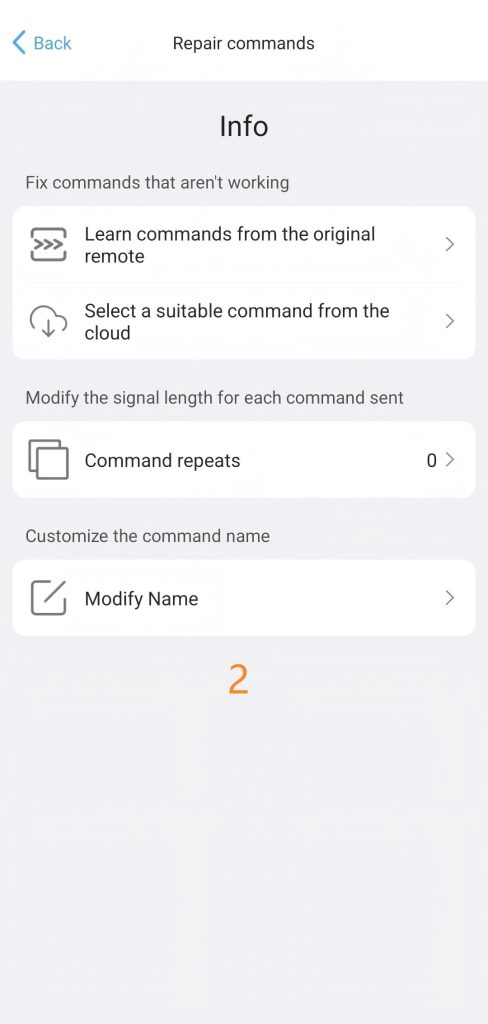
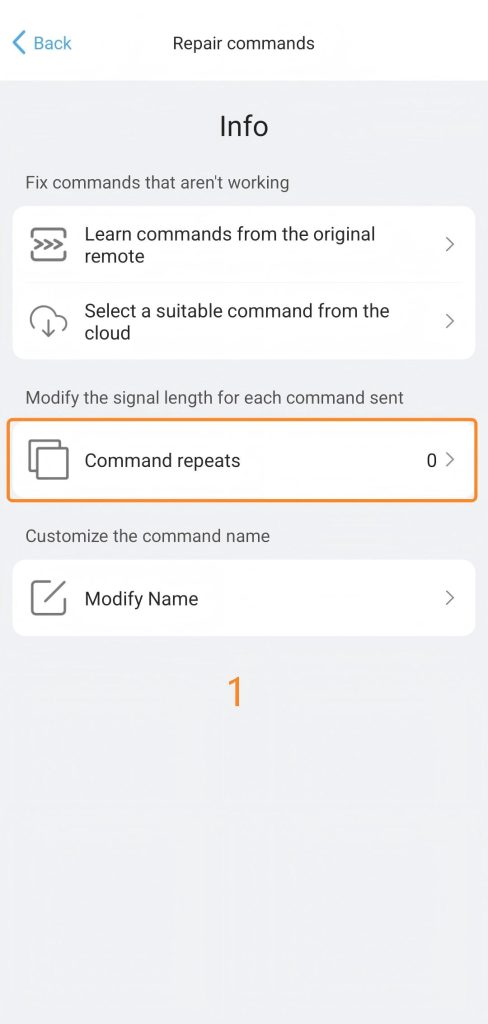
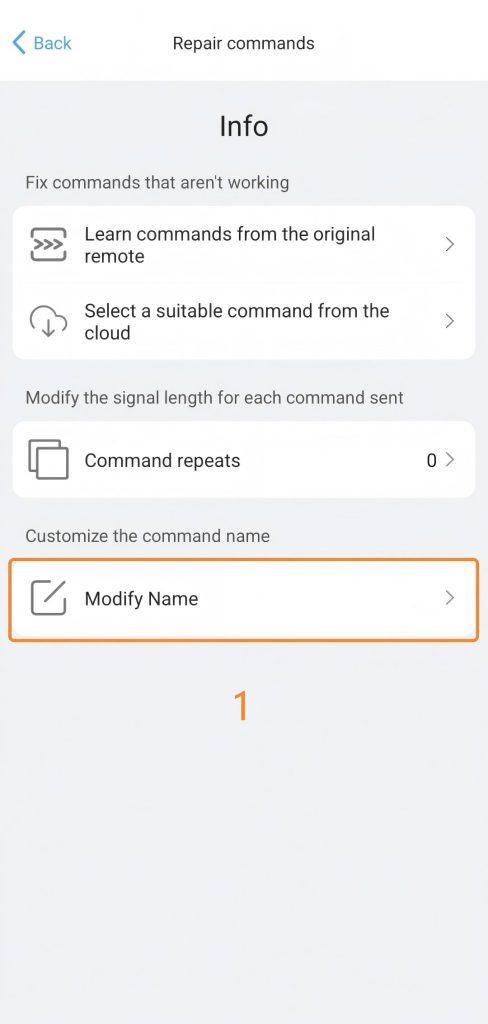
3.2 Fix Command
If buttons are unresponsive, commands are incorrect, or information is inaccurate, you can fix it using the options below.
1) Learn commands from the original remote.
2) Select a suitable command from the cloud.
3) Command repeats.
4) Modify Name.
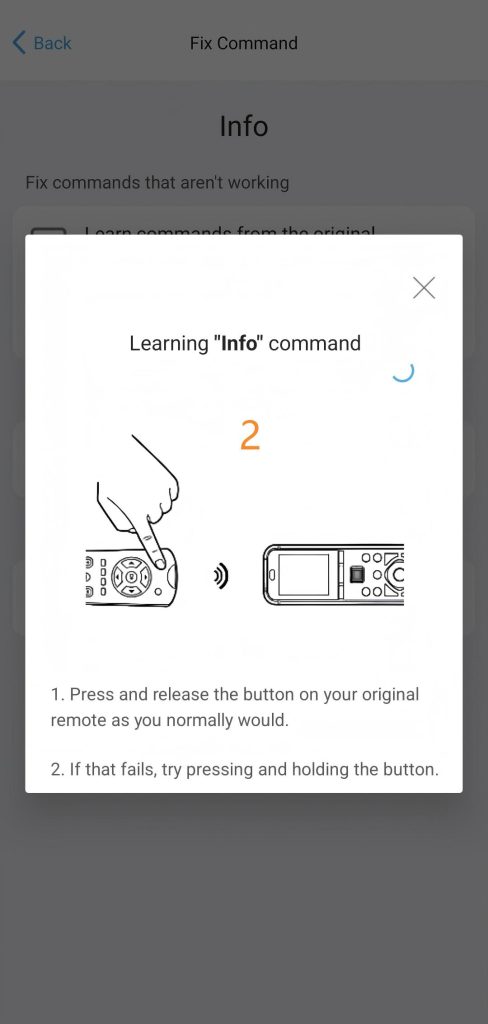
3.2.1 Learn commands from the original remote
You can learn infrared commands from the original remote to fix your commands.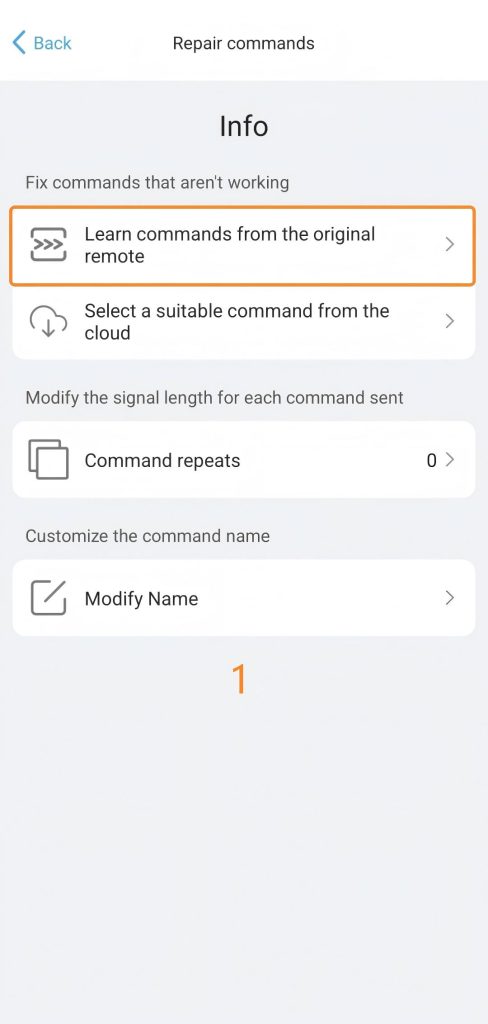
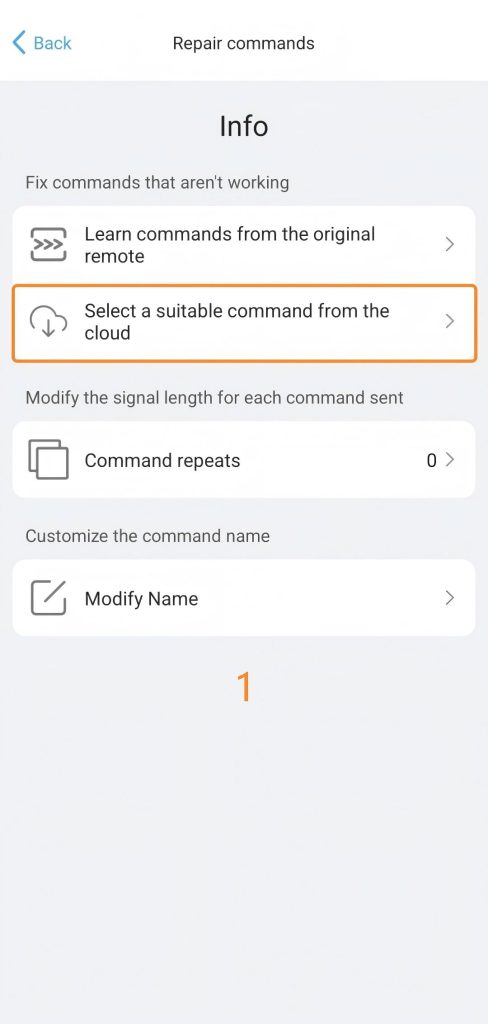
3.2.2 Select a suitable command from the cloud
If a specific command isn’t working, you can match it with a correct one from our cloud database.
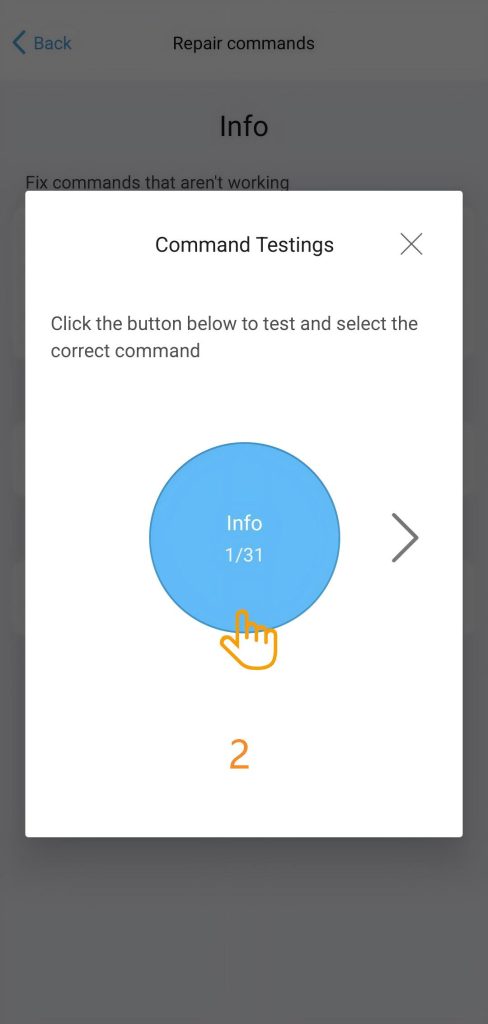
Step 1: Enter Cloud Repair. Tap “Select a suitable command from the cloud”.
Step 2: Test the Signal. Tap the blue button to test. If the device doesn’t respond, tap the arrow to try other versions (e.g., 2/31).
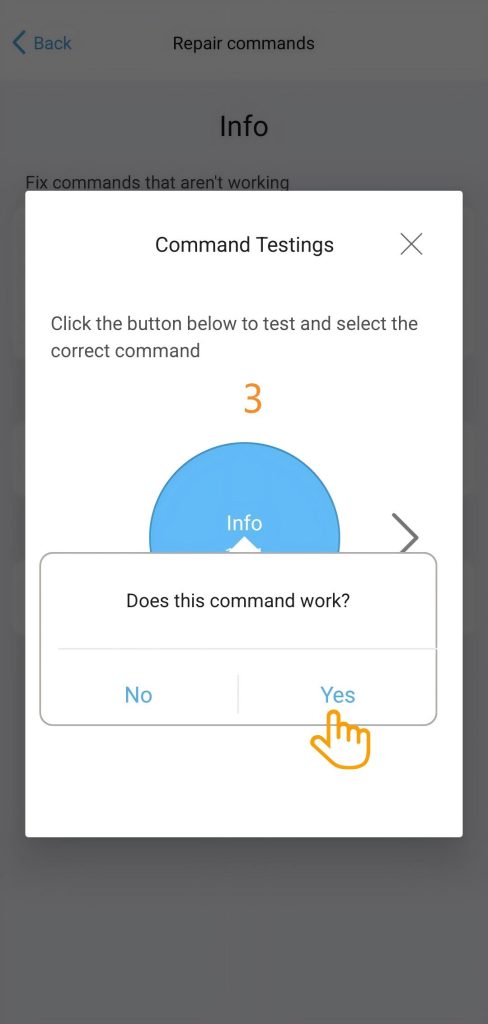
Step 3: Confirm Functionality. Once the device responds correctly, tap “Yes” when asked “Does this command work?”.
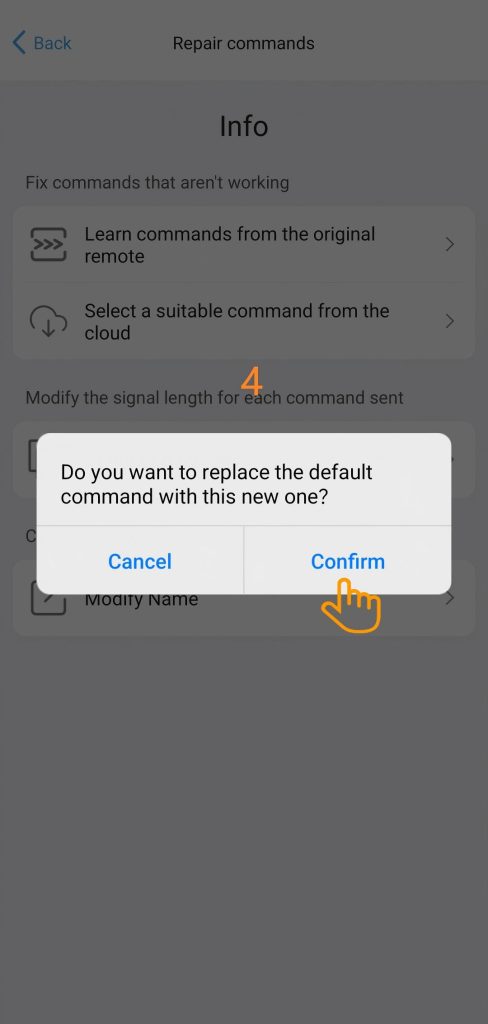
Step 4: Finalize Replacement. Tap “Confirm” to replace the default command with the new, working version.
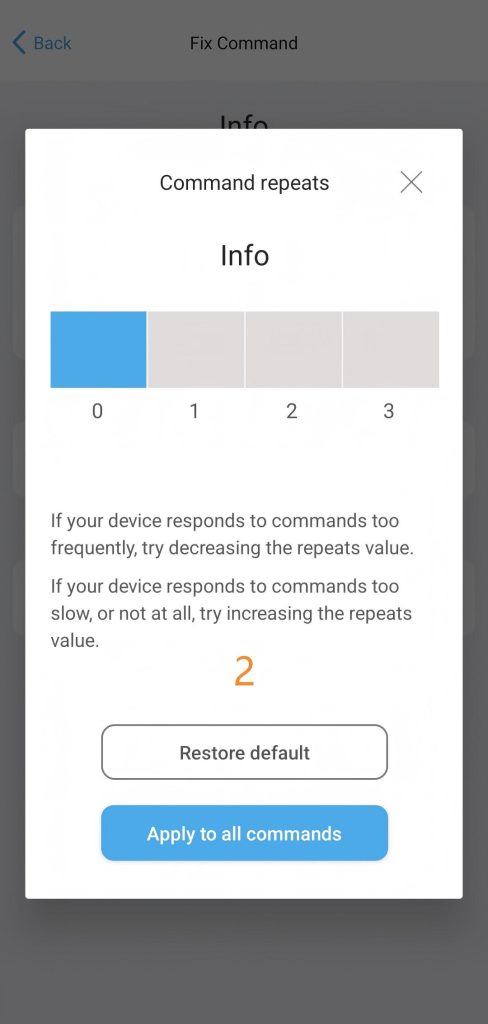
3.2.3 Command repeats
Adjust the command repeat count (0-3) to ensure your device responds correctly every time.
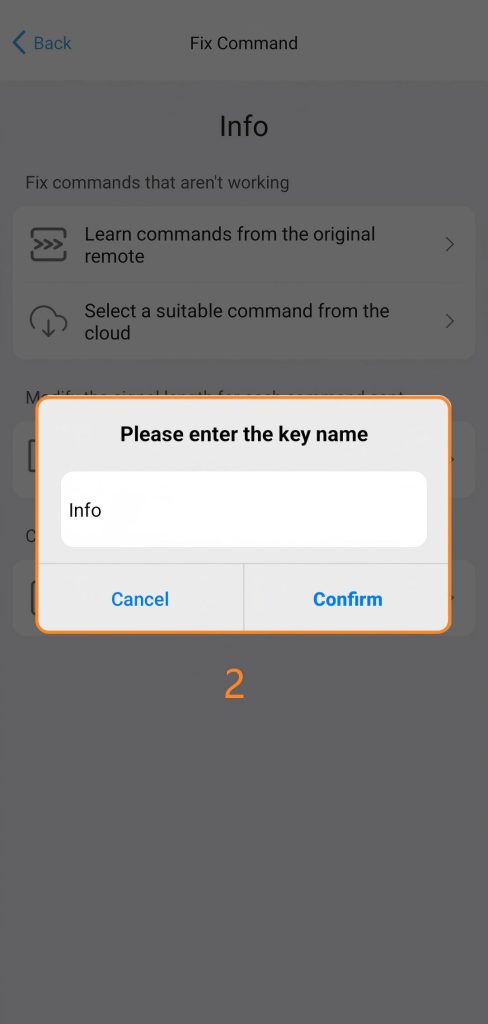
3.2.4 Modify Name
Rename command to correct period naming information or make it more intuitive.
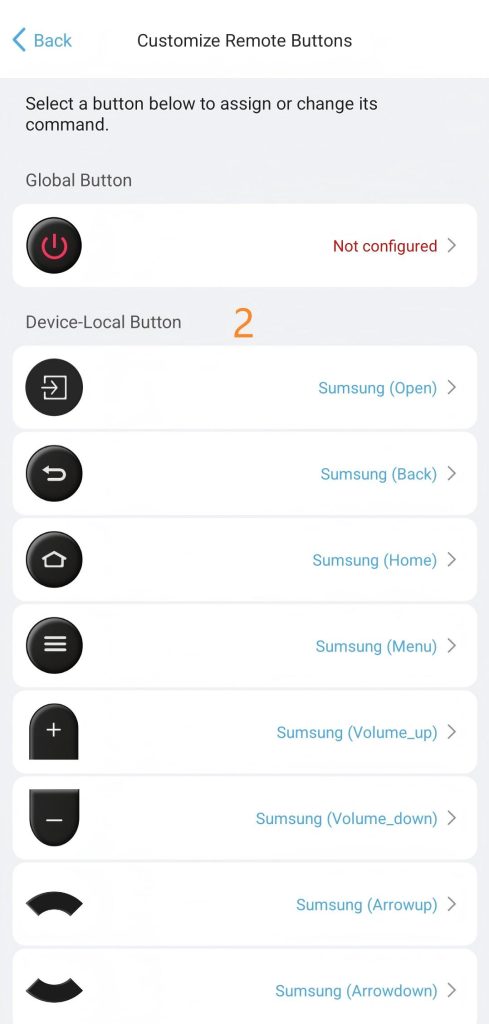
4. Customize Remote Buttons
Step 1: Select a button below to assign or change its command.
![]() Important Tips:
Important Tips:
- Global Button (TV Power): A global button for TV power ( Assigned the power command from thefirst TV added to the U3). It performs the same command regardless of which device is currently active. Can be manually reassigned via the app.
- Device-Local Button: By default, all other buttons control the device currently active on the U3 screen. However, you can customize any button to trigger a command from a different device if needed.
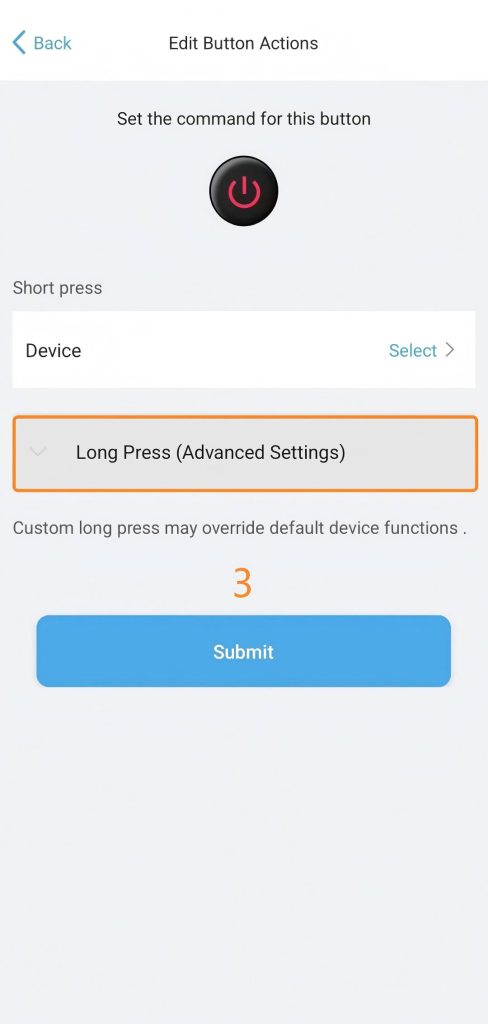
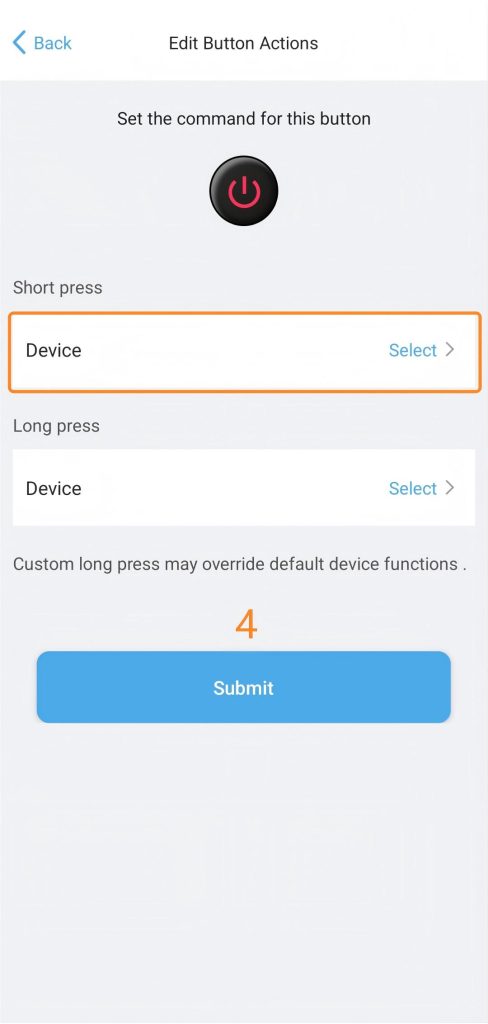
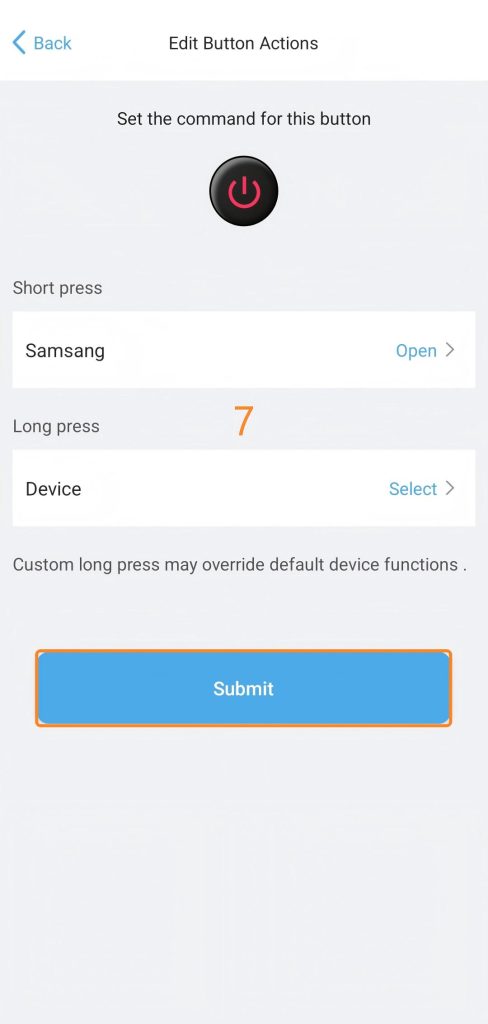
Step 2: Short/Long Press: Assign different actions to the same physical button based on the duration of the press.A short press is used here to add a command display.
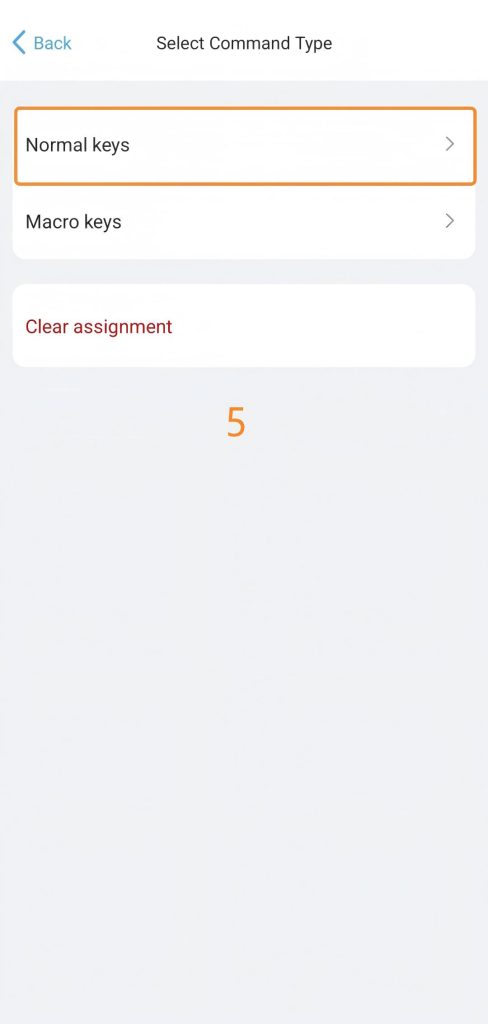
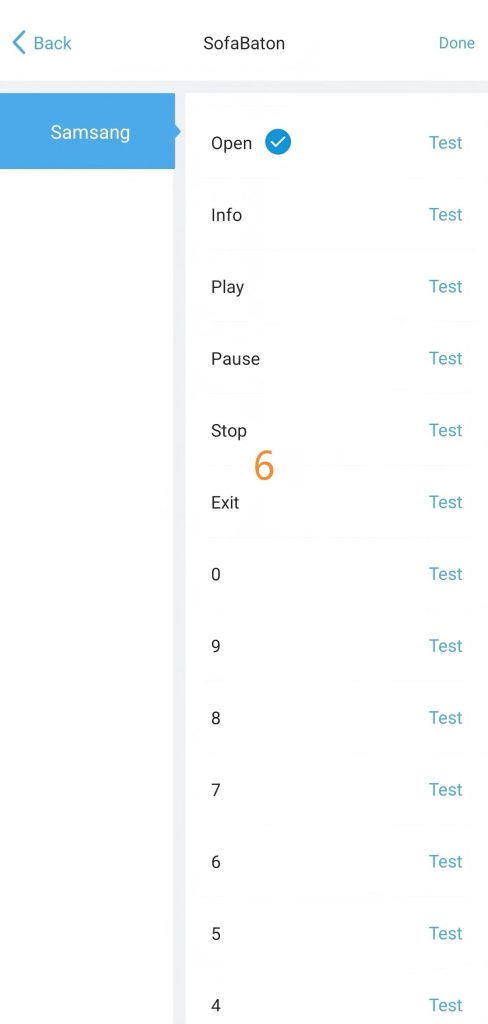
Step 3: Select the command. Choose between a standard key and a Macro. (A standard key is used here for demonstration.)
Step 4: Tap “Submit” to finalize your settings.
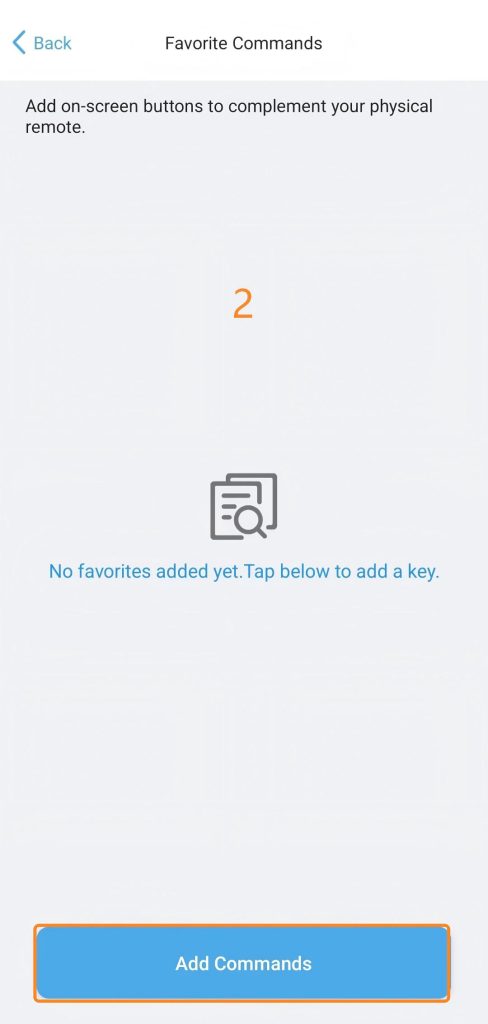
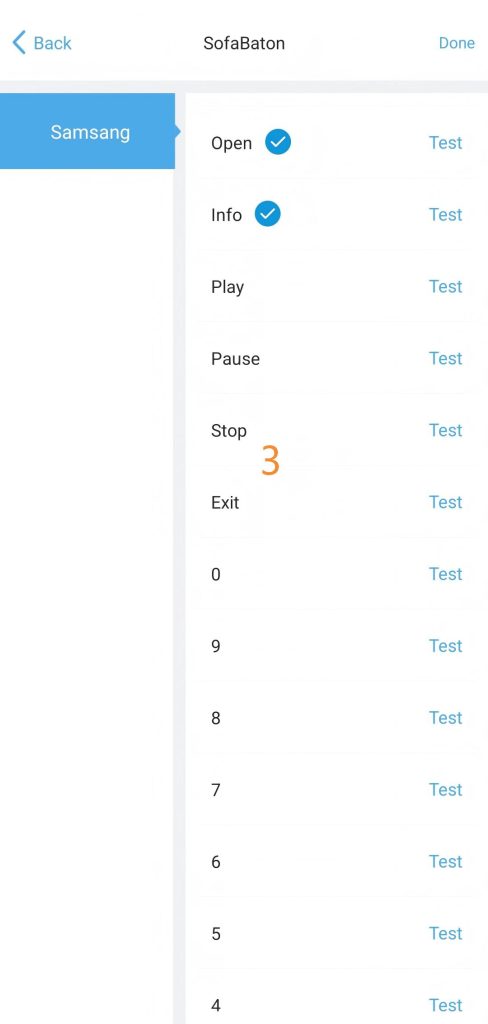
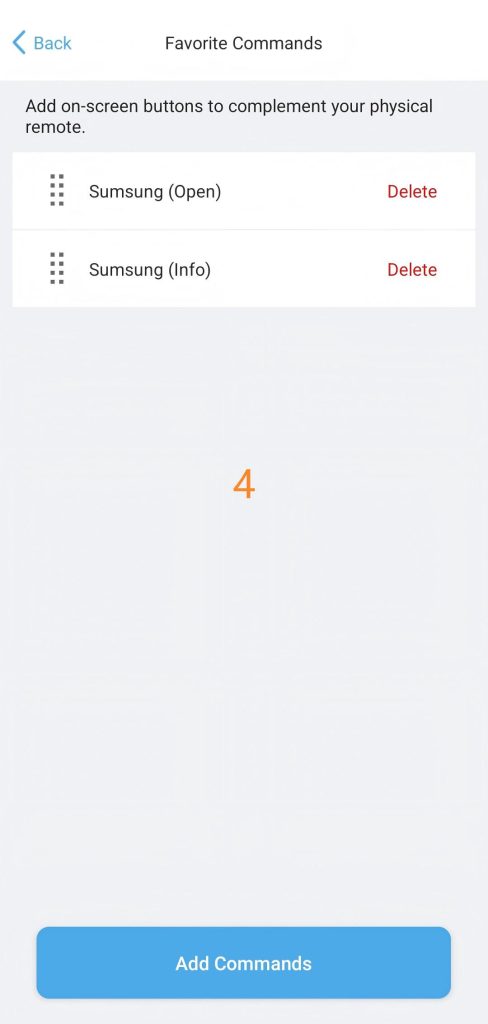
5. Favorite Commands
If the physical keys on your remote aren’t enough, you can select favorite commands to display directly on the remote’s screen for quick access.
![]() Important Tips:
Important Tips:
Favorite Commands can be quickly accessed from the sub-menu of the corresponding device on the remote.
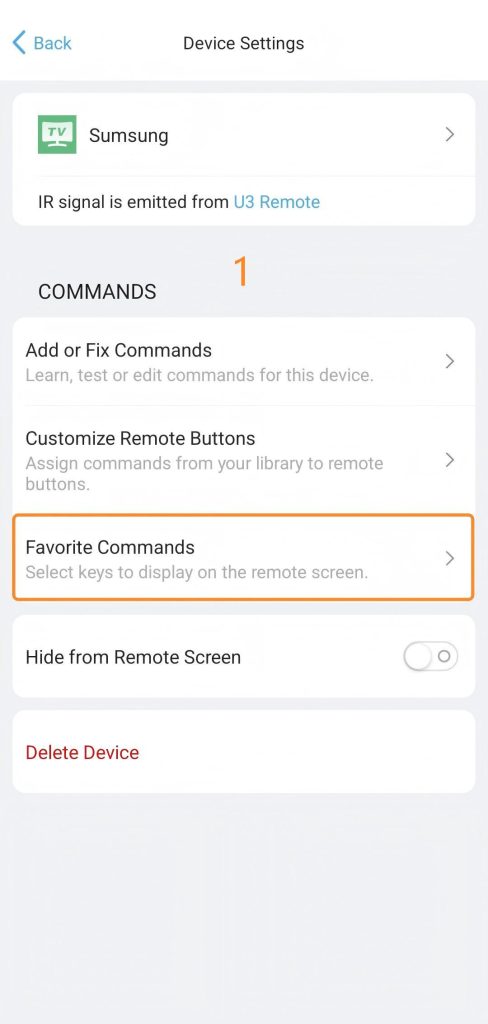
6. Hide from Remote Screen
This setting allows you to hide your devices on the remote screen.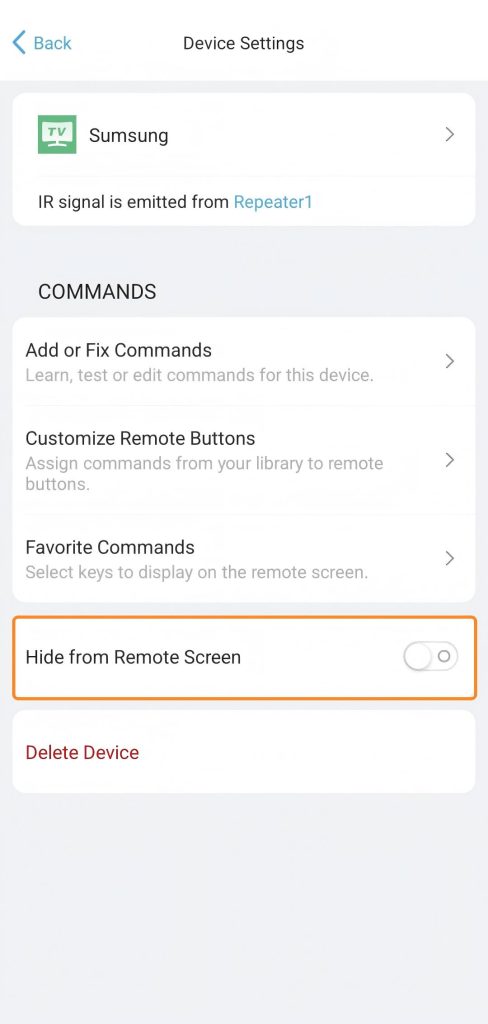
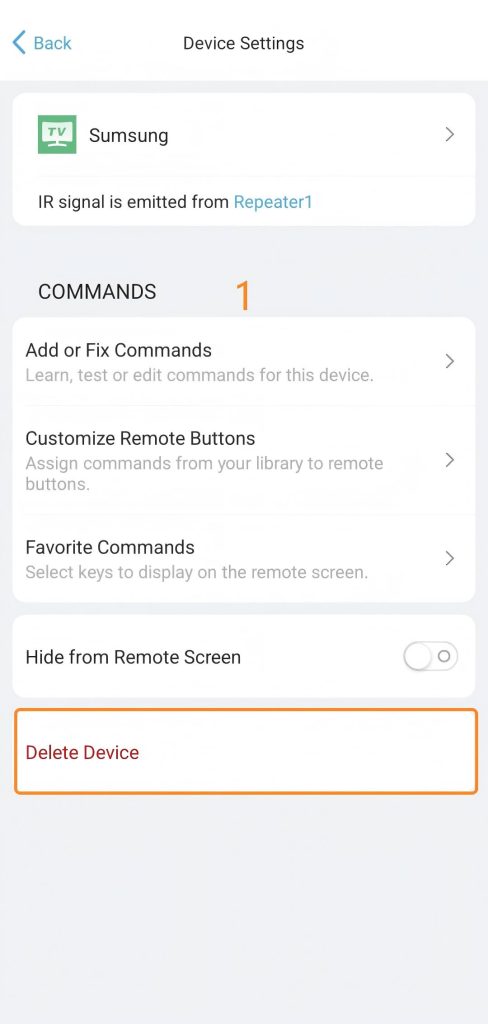
7. Delete Device
You can delete all device data from both the App and the remote.
-488x1024.png)
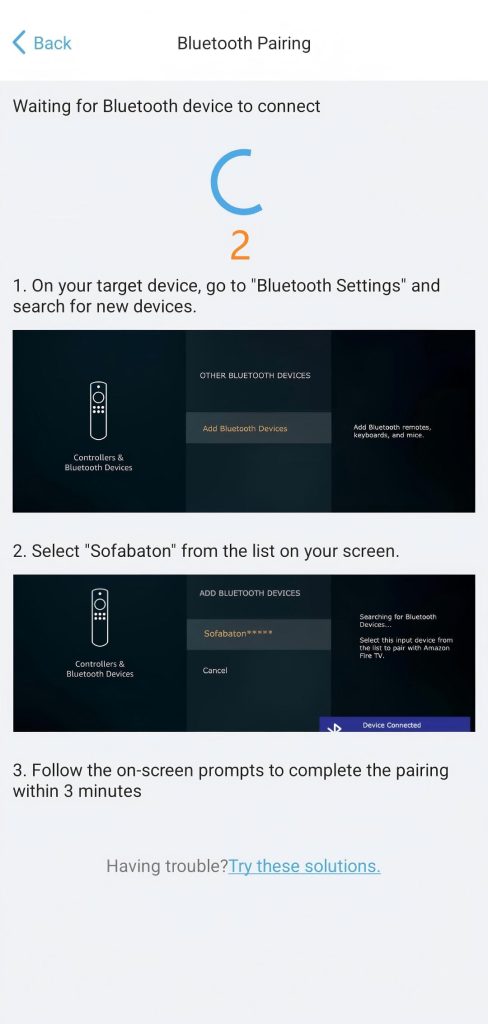
8. Bluetooth Re-pairing
If your Bluetooth device becomes unresponsive or loses connection, use this function to restore control.
![]() Important Tips:
Important Tips:
This feature is exclusively available for Bluetooth-connected devices.-488x1024.jpg)